Custom Contact: How Do I Run a Project?

E4tlIz9gYovI59ZvMu9kb-_-d6fOnK6E81X2Lt0VTmZFXfHKf1NJAELuxtvTc-c1INUIW6K8uyPVzJSrDZLbOwAx2g5SWIUeMIi7L9ITmLQh5fO-VcsL6Rbzq9hE28qlHqETN_tpnvaRG4mPBAB3wqs


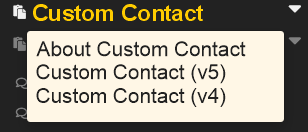
Custom Contact Module
Knowledge Base 2.0 article 542


Custom Contact: How Do I Run a Project?


Custom Contact is a powerful tool that can be used to build Workflow and Automation Systems utilizing Custom Letters, Custom Reports and a system scheduling tool called CRON. 


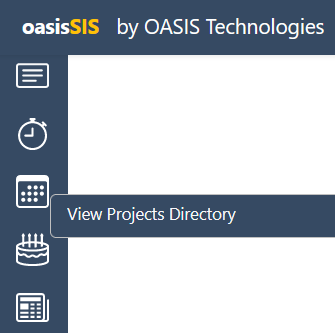
The Custom Contact tool can be found on the left side menu of all of the major administrative modules.

mqqYGX2l4tPRBX8wNFCpFJrC2ucf5S0Vi4yW1vnGNrAvBRiVtKuowAnJXSJVCrXNqKOOPw-I-kF_8ZF39NB9LNg3a62IOun3Z228Sc6IPvojQppEshSQXmdjm9yrKytR8MYJg7PVjJ5w-tLj4UmhwwI

You can access the tool by clicking on the Custom Contact link and then selecting which version you chose to use.   

xdCljiQm4HQecMxlkgkz3NRaZIa_ZJ4z_BF5UK4EX0wBWRZqoQc7vM4cRwAdmysX77qnhi1TSXZQybQ9P8fwrZSaqXGoNXbbAlqCyOBV5gc9TtE1iHWKNF7R5hXNuCopo0GZWuYYyhzgwaeNM8cPPsk

To access the Project click the Project  icon


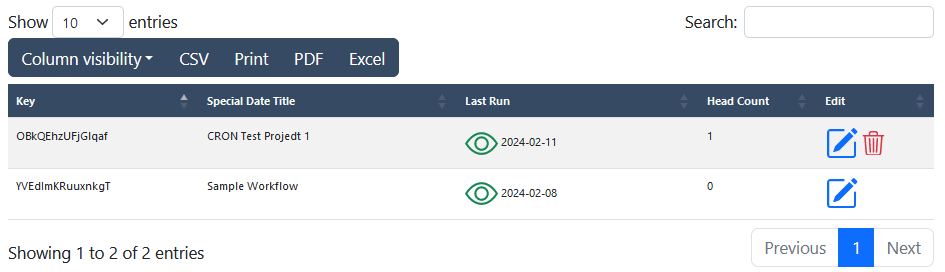
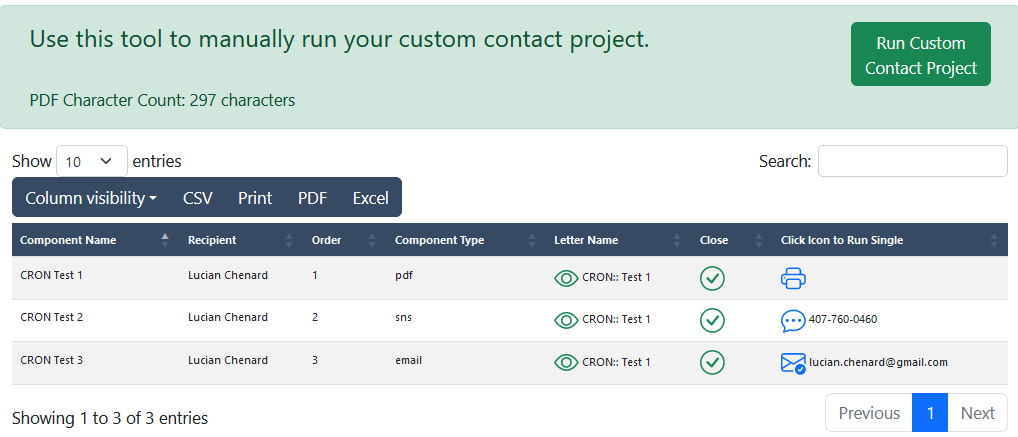
PROJECT  DIRECTORY

To RUN your project  simply click the “GREEN  ICON” button found on the table row.

FZLJf61ZT9maUs7ty6oXxfla_EQr2Tc3xdymMcIU5FXnGIDqEkmKyBPSK9V6job88sXm-q_81QJJXUdBJ16rRkZ-bjebITkTH20KnIcSHoFsXutvnT8gwA81ZsoNxBoy62LMkFKfmaXE6slJwxzNR1Q


YIPRlBsq4IAwARD8hqFKlD5JdAKonxFQK05-REtQcSFUt_3FSC3m-wFYfBEzptPWoZGibw5NB_LyHIk-cvcIBd6kOD2LyH4PwZzVUPE8sMG6ZW_jzISR5MMMZZl_kfKyv9Zw4QNqJskprL1YYS3ED28

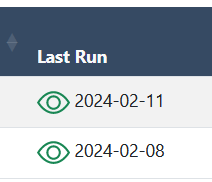
To view a “trial run” of your job click the appropriate icon next to the job you want to run.

CLICK THE GREEN ICON


This will open up a  new screen that will then run the associated report and then show you all of the “recipients” for the run.


2JlKALv-PMatwB4z2IG1YUYn7uRXYBgYHLI_rRcKncHu1z0TxUqY-G55L_J75a9WsEnUEtO9lZUAcggm2h2Z2IzBzRP_k7PgDN2DTVp99z9iiApHR1_BvHQ7ZQpRK-eFpgvokHGszBu-tkeqNO4LQXI
It is possible that your job found NO components that need to be run.


PYOkNaKwB8fsOPu_Uuhe9wFa0Sn7lKjlLAWBTnND8XGyxl21DpkN6XbMNnJ15hFsONEOpb49OONQ4gQOt5Ea36sh6gTCBrE9rjmKHdXwoICEssXXs0lfGLTLkuOdsA382RRTxRwexEVgyjSKA5CdvAI


From this page you have TWO OPTIONS.

  1. Run the complete project

  2. Run individual components separately

dfmlPFxB_u0MimOVU6cOQKerdxU0YHK4p4DNHEossH09--eTQ9WnzU9FK81IWNJJ2ukJnCAoOIP0Cl0fu8Qx7A7xpxrOU88NcEbY6DS8L8mMEke3uDuSPUoBvxFNrJHe8V2tdcU3PE2pU-uVIbgZtTA

jdtnfiYIORbnhWztZB37dVx0LlfWdkAD0hMJts9_DP0KekxhYJXV7AvdgiuWJtvTE-_KUJpDmob42FaIHhVoGDQcoi_XhcnDkJZkp5U0PdqDqaFuhnXEnthvYlEpbZ85xJaVrD9C6CKHBKwll7xsebM

To run the project as you see it, click the GREEN button found at the top of the page.

OTHER ICONS

If the component does NOT have a letter defined a YELLOW gear will appear, and it WILLl NOT run.

If the LETTER has unfulfilled merge fields the RED BRACES will appear and it WILL NOT run.

  • The letter does not have the appropriate permissions

  • The letter has conflicting merge field for the permissions it has.

OTHER ICONS

To run components separately click the BLUE icon.


To mark a component as complete WITHOUT running it click the MARK AS COMPLETED icon.

To preview the letter with merge field data click the GREEN EYE icon. 


Read also: